How to Plant an Indoor Amaryllis Garden
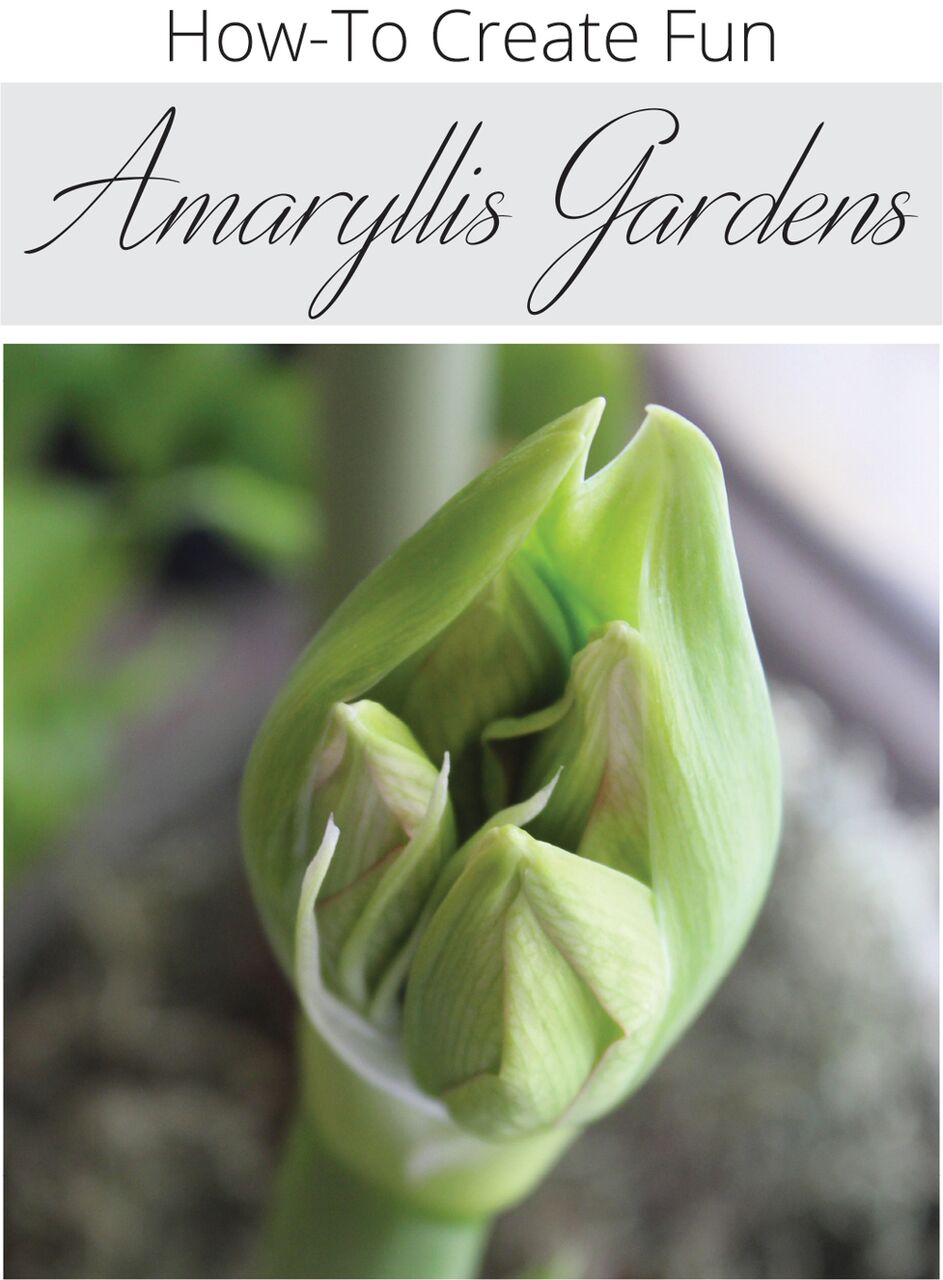
As a longtime gardener, I love to push the limits to see how creative I can be. While shopping at one of my favorite garden centers, Molbak’s in Woodinville, WA, several ideas for growing amaryllis bulbs came to mind that I haven’t seen others illustrate. One of them being – why hasn’t anyone tried planting amaryllis with other holiday-type plants? This blog post will give you step-by-step instructions for creating an indoor container garden with the same principles applied to outdoor containers and stealing the “thriller, filler, spiller” concept, but for holiday, indoor décor.
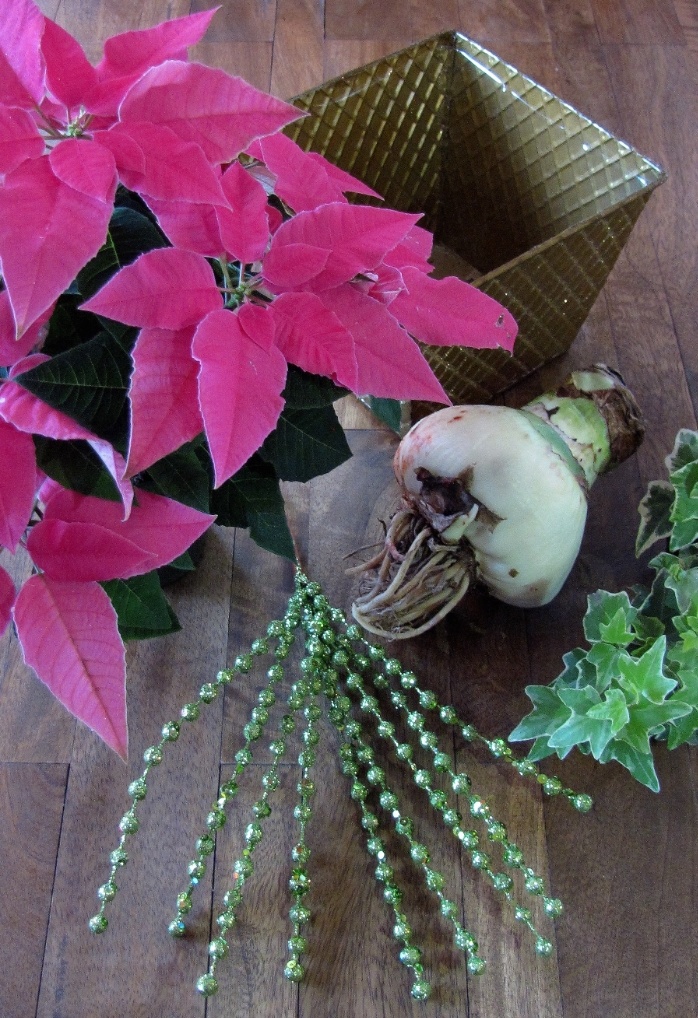
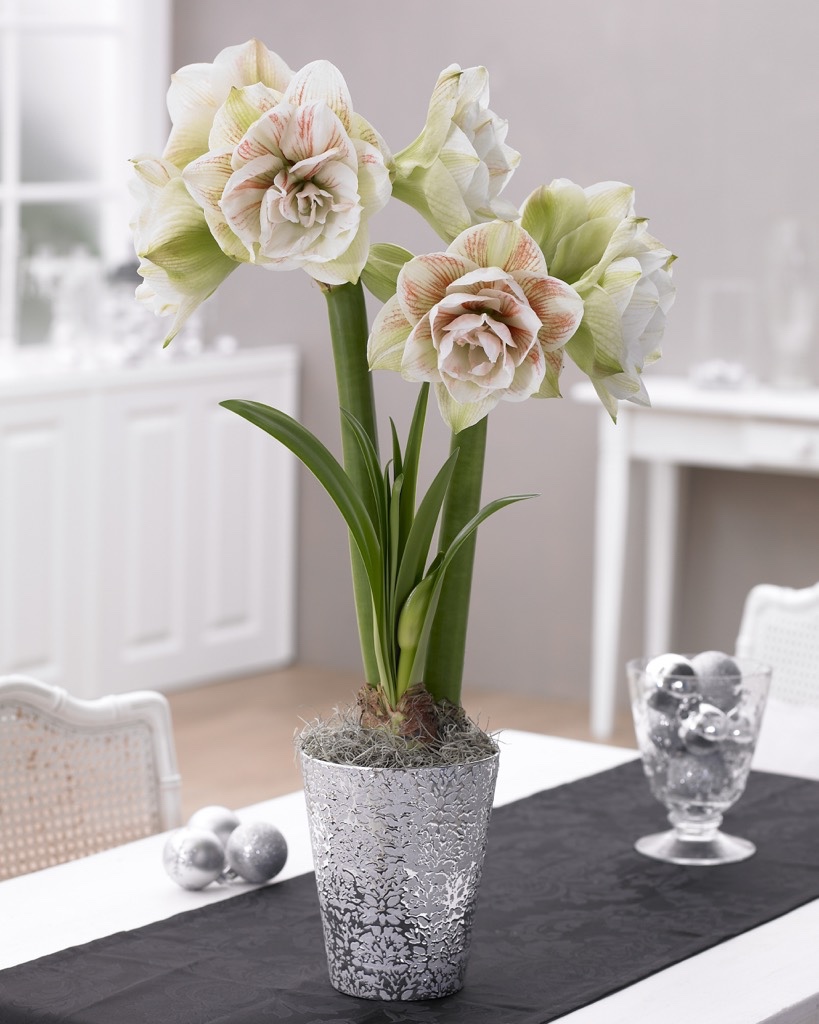
For your indoor container gardener, the thriller will be your amaryllis, once it has grown. The filler in this container is a poinsettia that really drew my eye – the newly introduced, Princettia® Dark Pink, from Suntory. The spiller in this project is a variegated English Ivy (Hedera helix) in some 2” containers. Your filler and spiller can be any plants of your choosing. I went with a pink theme as the amaryllis selected in this container is ‘Nymph’.
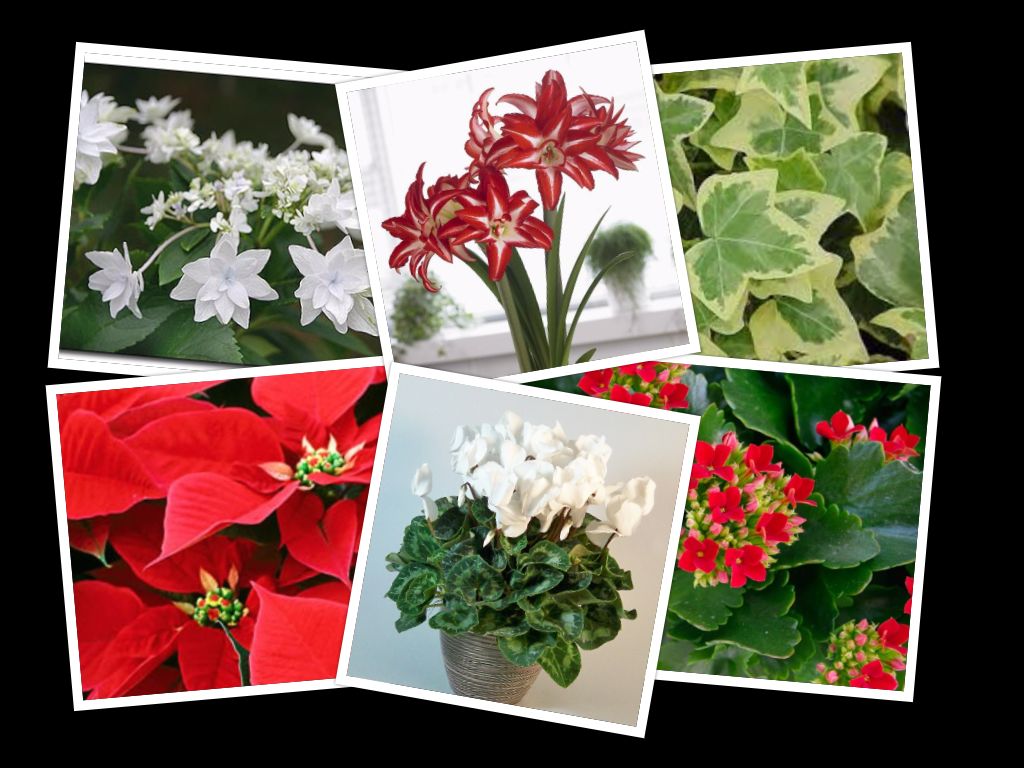
Trick: While at the garden center, pick out your container first. It should go with your previously selected amaryllis bulb. I decided on gold because metal containers are really popular right now, but choose whatever you are drawn to. Then head to the garden center’s indoor plant department, where you can select your filler – placing it in the container to see how you like the look. Then figure out what spiller you like the best with the colors already selected. Remember to focus on textures as well as colors.
Step 1: Once you have your plants and container selected, place your amaryllis bulb to the back of the container. Since my container was square, I turned it to be a diamond and positioned the bulb at the top of the diamond shape. In a triangle layout, plant your filler to the front-side of the thriller. Then your spiller would go directly beside your filler finishing your triangle layout. If you prefer symmetry, then place a spiller on each side of your filler.
Trick: Keeping the poinsettia in its original nursery container helps with drainage, especially if you have plants with different moisture requirements. At a later date you can also pop out the poinsettia and replace it with a different plant.
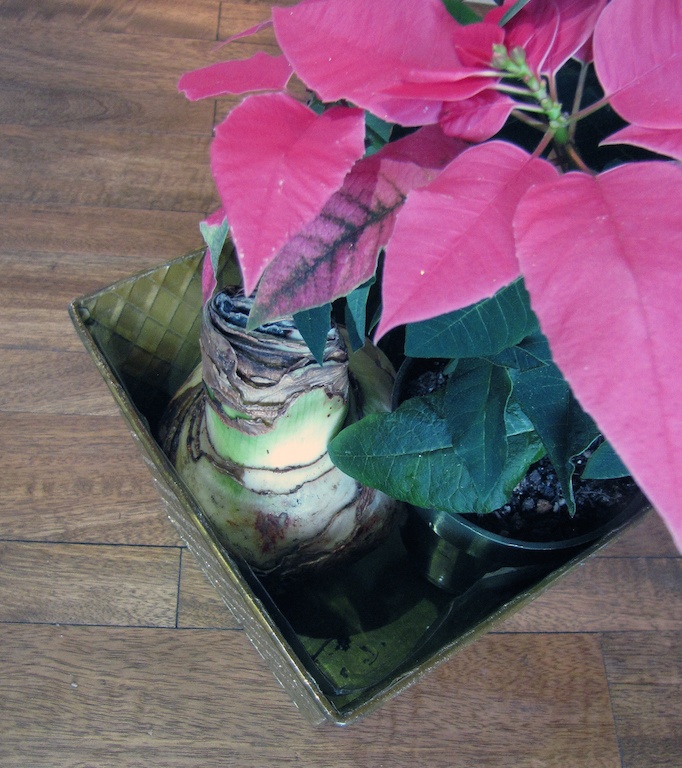
Step 2:
Place potting soil around all plants until covered. Then water your newly potted indoor container garden.
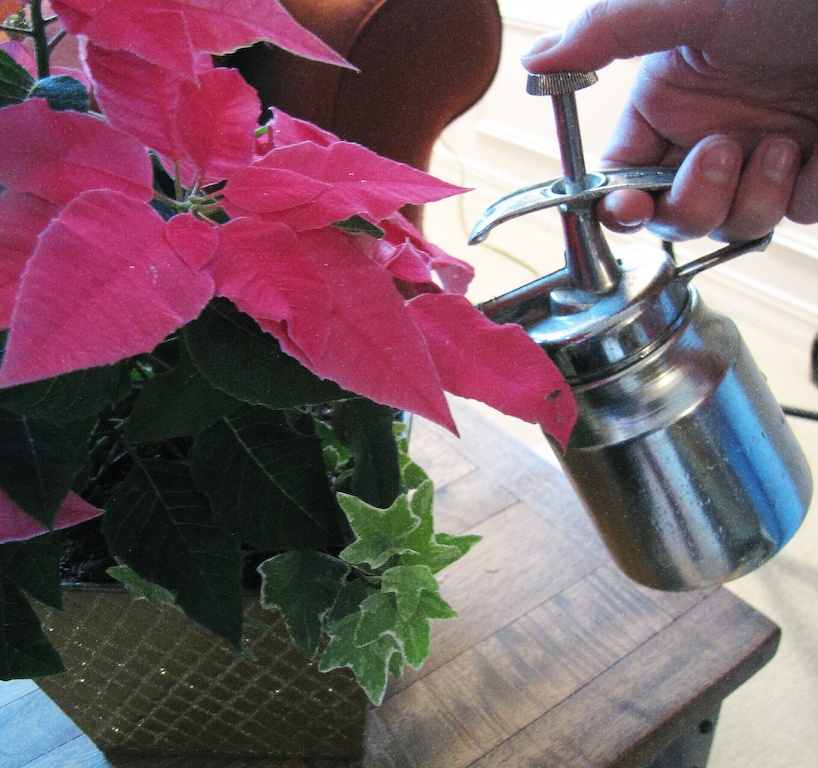
Step 3: Add further decorations like the green, sparkle beads in the photos. This will give the container height until the amaryllis is fully grown.
Step 4: Place your new creation with your adorable pet like Wilson here, my friend’s French Bulldog, and snap tons of pictures to add to Facebook or Pinterest and share with all your friends and family to show how darn creative you are!
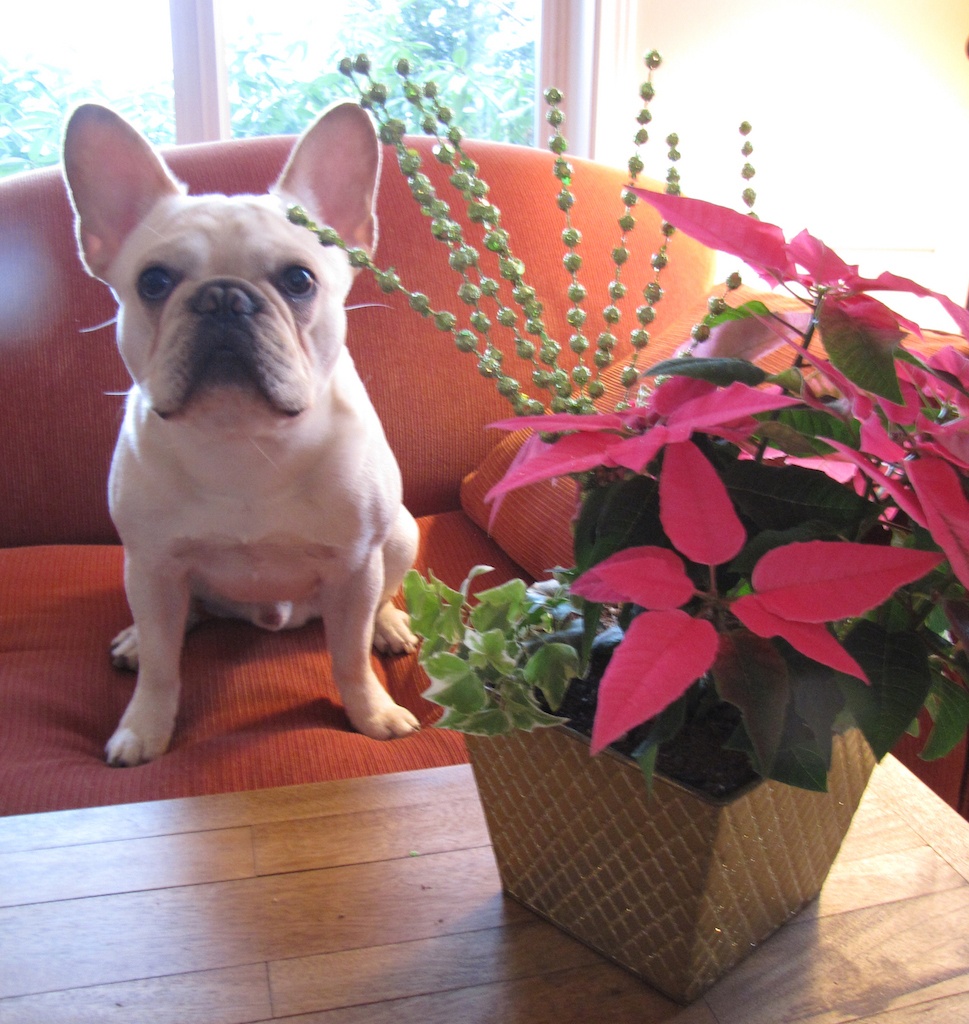
Trick: To keep your indoor garden fresh and thriving, water every couple of days and keep in a well lit area.
Total Project Cost: $45

